Showing posts with label garden. Show all posts

Monday, August 25, 2014

Herbed Zucchini Rice

So good and so simple!  A perfect use for a prolific garden zucchini crop.

Dice 3-4 cups of zucchini with skin on.
Dice 1/2 Walla Walla Sweet Onion
Mince 1-2 garlic cloves

Add 1-2 tablespoons of olive oil to rice cooker.
Add zucchini, onion and garlic
Add 2 cups of dry rice
Add 3-4 cups of water

Sprinkle with sea salt and about a teaspoon of dried rosemary.
Cook as you normally cook plain rice and enjoy!


Monday, August 18, 2014

The Revolving Herb Tower

I saw a few different things on Pinterest that I thought I could combine to make something that would work for me.  These were the inspiration pieces:


So I gathered my supplies:  canning jars, paint, lazy susan, wood scraps, wood glue and duct clamps then went to work. 


I added a tray for rocks to help weight it down due to our wind gusts and detailed it with a monogram to personalize it a bit more.


Then I filled the jars with a gravel base, potting soil and seeded them with herbs.  I added chalkboard tags that can be marked with which herb is growing where and then altered if I replant with something different.  When the temps drop, I will bring it in for the winter.  I have 8 jars of tiny green sprouts!  It will be interesting to see how they grow.

This was project took more time than most due to the drying time of glue and paint between steps.  In hindsight, I wouldn't have used the scrap wood I had on hand.  It wasn't all straight or the quality I would want to use on a project that turned out this neat.  I'd opt for the quality stuff.  I think the hardest part was sanding off the fresh paint to give it the "shabby" look I was going for.  To a perfectionist, doing things intentionally haphazardly is not easy.

Tuesday, July 8, 2014

The Salad Planter

I love Shanty-2-Chic's website and tutorials.  These sisters are amazing.  I found this plan on their site and thought it would be perfect to grow our own salad fixings while keeping them off the ground.

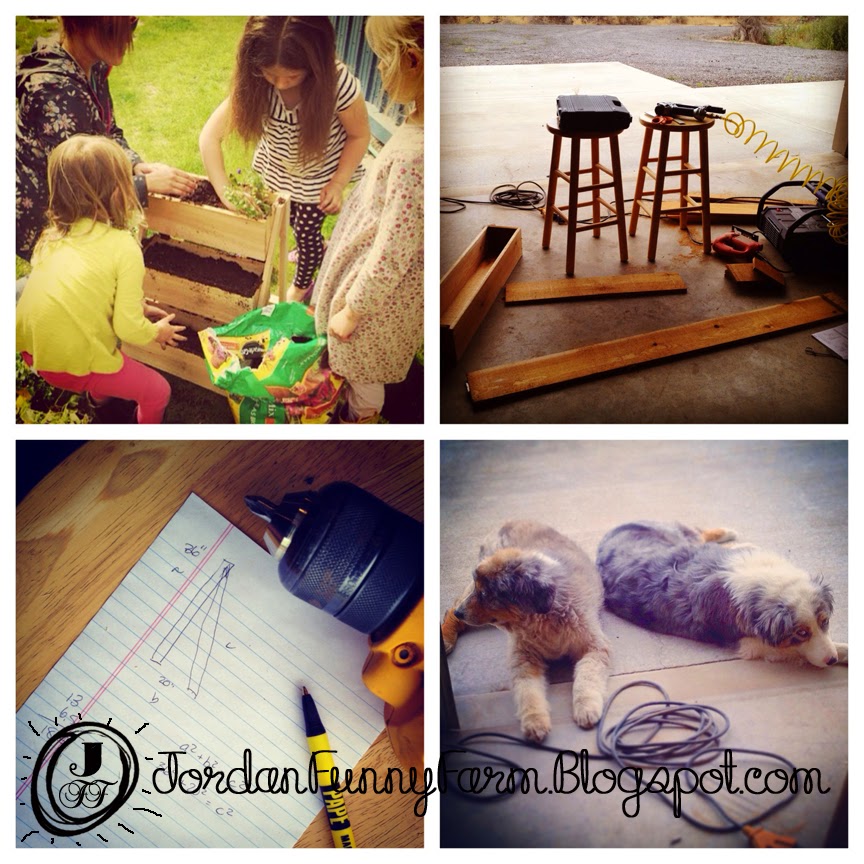
I needed it to be a bit bigger so I adapted the plan.  The hardest part was recalculating the leg length with the angle that I needed.  It brought me back to algebra, trig and geometry high school classes.  I was excited because this was my first project with my new pneumatic staple gun.

I stained it, blinged it out with some glass pebbles and landscaping cement.  I lined the boxes with plastic and drilled holes in the bottoms for drainage.  Filled them with moisture control potting soil and seeded them with different varieties of loose leaf lettuce mixes.

The top left photo is from Shanty-2-Chic's site and the size of the original planter.


Sunday, June 22, 2014

The Tomato Tower

Another Pinterest Project:  DIY Vertical Planter Garden with instructions found on RufflesandTruffles.com.  (I really like her blog - she's smart AND funny!)

 
I tweaked it a little to maximize my space and accommodate large planters.

 
The risers are prefab and available at most home improvement stores.  They are around $25 each.  I used treated 2x4s and 2x6 for the frame because I knew that I'd be using plastic planters that would not come into contact with the wood.  I used screws and bolts to stabilize the frame.  I knew it would get heavy with soil, water and plants.  The planter boxes I purchased were extra large and I needed to cut the back edge down for a secure fit.  I also drilled holes in the bottom for drainage.  This wasn't a thrifty project.  With $50 for the risers, another $40 for the planter boxes, lumber, hardware and stain; I believe it was around $115-125 to build but it has certainly optimized space and has been a great way to add portable gardening space around our home.

Mid July