Showing posts with label DIY. Show all posts

Monday, August 18, 2014

The Revolving Herb Tower

I saw a few different things on Pinterest that I thought I could combine to make something that would work for me.  These were the inspiration pieces:


So I gathered my supplies:  canning jars, paint, lazy susan, wood scraps, wood glue and duct clamps then went to work. 


I added a tray for rocks to help weight it down due to our wind gusts and detailed it with a monogram to personalize it a bit more.


Then I filled the jars with a gravel base, potting soil and seeded them with herbs.  I added chalkboard tags that can be marked with which herb is growing where and then altered if I replant with something different.  When the temps drop, I will bring it in for the winter.  I have 8 jars of tiny green sprouts!  It will be interesting to see how they grow.

This was project took more time than most due to the drying time of glue and paint between steps.  In hindsight, I wouldn't have used the scrap wood I had on hand.  It wasn't all straight or the quality I would want to use on a project that turned out this neat.  I'd opt for the quality stuff.  I think the hardest part was sanding off the fresh paint to give it the "shabby" look I was going for.  To a perfectionist, doing things intentionally haphazardly is not easy.

Saturday, July 26, 2014

Antler Light Fixture

I have been working on lots of little projects to make our house into the home that fits us.  When we built it in 2004, we had a different future in mind.  We designed this house to raise a family.  Life has a way of changing plans in spite of our greatest efforts.  We adjusted.  We got busy.  The house got old and it's time for some updates.

So, I've been working to make this happen.  Not only was this my first real house but it was custom designed by a collaborative effort between me, Jeff, my dad who drew up the plans and Rocky, the builder -- plus anyone else who was willing to give advice along the way.  I love it too much to leave it but there are lots of little things I would do differently next time. 

We have an awesome wrap around porch but the lighting has always bothered me.  So much, in fact, that I'd rather just leave the burnt out bulbs in place and ignore them.  I've been keeping my eyes open for something that would speak to me.  After our trip to Jackson, Wyoming last winter - I knew exactly what we needed, I wanted a new antler light fixture for the deck.  I waited for the right fixture to go on sale for the right price and pulled the trigger.

Light fixtures are easy to swap out.  It's a matter of unscrewing things, matching like colored wires, screwing them back in and calling it good.  Usually.  Until there is an extra wire.  And a mismatched colored wire.  And the ladder barely reaches.  And you have to perform all of installation tasks 16 feet in the air with one arm because you are holding the 30 pound fixture with the other hand.  But after a 911 call to my favorite electrician, an impromptu trip to borrow my brothers ladder and a little bit of blood, sweat and tears -- the fixture was up -- and it's beautiful.

Before:

After:


Tuesday, July 8, 2014

The Salad Planter

I love Shanty-2-Chic's website and tutorials.  These sisters are amazing.  I found this plan on their site and thought it would be perfect to grow our own salad fixings while keeping them off the ground.

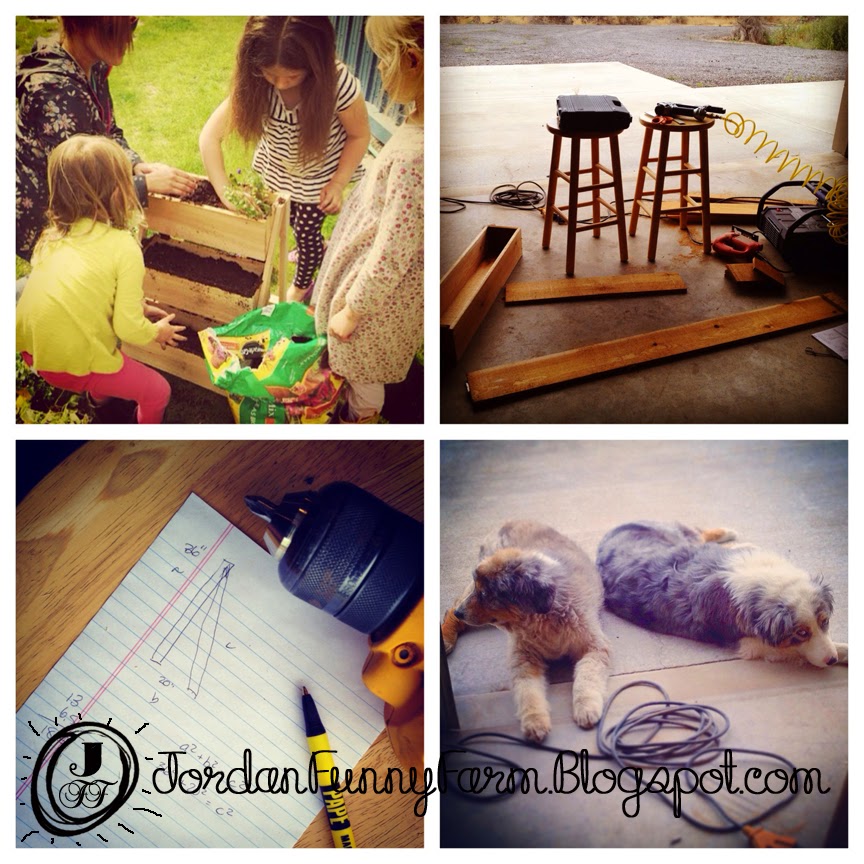
I needed it to be a bit bigger so I adapted the plan.  The hardest part was recalculating the leg length with the angle that I needed.  It brought me back to algebra, trig and geometry high school classes.  I was excited because this was my first project with my new pneumatic staple gun.

I stained it, blinged it out with some glass pebbles and landscaping cement.  I lined the boxes with plastic and drilled holes in the bottoms for drainage.  Filled them with moisture control potting soil and seeded them with different varieties of loose leaf lettuce mixes.

The top left photo is from Shanty-2-Chic's site and the size of the original planter.


Sunday, June 22, 2014

The Tomato Tower

Another Pinterest Project:  DIY Vertical Planter Garden with instructions found on RufflesandTruffles.com.  (I really like her blog - she's smart AND funny!)

 
I tweaked it a little to maximize my space and accommodate large planters.

 
The risers are prefab and available at most home improvement stores.  They are around $25 each.  I used treated 2x4s and 2x6 for the frame because I knew that I'd be using plastic planters that would not come into contact with the wood.  I used screws and bolts to stabilize the frame.  I knew it would get heavy with soil, water and plants.  The planter boxes I purchased were extra large and I needed to cut the back edge down for a secure fit.  I also drilled holes in the bottom for drainage.  This wasn't a thrifty project.  With $50 for the risers, another $40 for the planter boxes, lumber, hardware and stain; I believe it was around $115-125 to build but it has certainly optimized space and has been a great way to add portable gardening space around our home.

Mid July


Wednesday, May 21, 2014

Burlap Wreath


If you are going to go to the trouble of staining the front door - know in advance that it likely won't stop there.  I think maybe I was spending too much time staring at the fruits of my labor because it started to look very, well, empty.  I searched home décor sights for something, though I wasn't sure what.  A few clicks at Pottery Barn gave me some ideas but the prices!  Yikes! 

(I spend money in time allotments now.  I don't see dollars and cents.  I see units of work.  How many shifts is that pretty, somewhat fragile, organic, welcome wreath really worth to me, anyway?  Yah.  It just wasn't THAT awesome.)

I perused Etsy and I still couldn't do it for the price.  The cheap ones were, well, CHEAP and the items I liked seemed to still be in the $100+ range. 

So I cruised over Pinterest just to see if something - caught - my - eye...  If you don't know Pinterest that likely won't make sense but for those of us that do, we know all too well that it can take you into an alter-universe where time simply disappears.  One moment it's 8 pm and you are waiting for a commercial to end before your favorite TV show starts.  You remember a recipe you saw the other night and take advantage of the break to look it up so you can pick up the ingredients in the morning.  You look up, the house is dark, the TV is off.  Everyone is asleep.  It's 2 am and NO...  You never did actually make it to the ingredients list of that recipe -- what was it anyway?  And who will have time to cook!  You need to get to bed because there are 13 super cool projects that you just found and must absolutely start working on first thing in the morning!!!

Ah, but I digress...  This is about a wreath, right?

Yes, you can find tons of instructions on Pinterest.  So many, in fact, that I'm not even posting the link.  There are thousands.

Mine is made out of a straw wreath base and about 2 yards of burlap cut into 3.5-4.5 inch squares and hot glue gunned into place.  I may have burned most of my fingertips past the nerve endings because eventually they quit hurting.  I found a cardboard letter and wrapped it with twine, holding the twine in place with a fair amount of glue.  (Also seen on Pinterest, of course.)  Then I embellished it with a bandana and USA flag and called it good.

It took about 6 hours from start to finish and about another 4 days to get all the tiny burlap particles out of the house.  It cost about $20 in the end and it discouraged me from starting any new projects for a few weeks -- and THAT likely makes it worth it's weight in gold.

Tuesday, May 20, 2014

The Outdoor Wine Bistro

A friend of mine posted this photo on Facebook - and I immediately fell in love with it!  I found a link on Pinterest and went to work!

I didn't find specific instructions but it seemed pretty self explanatory.  I cleaned two small wood pallets, added a 2x4 for both additional support and extra shelving, stained them, used metal plates and screws to secure them together, and landscaping cement to adhere concrete pavers to the top.
I used the glass pebbles (from a floral department) with the same landscaping cement to add a bit of bling to the edges and added some "feet" made from a 2x8 to reinforce stability and make it child/dog proof.
The total cost of the project was around $25 but I had a few things on hand that I didn't have to purchase:
Pallets - free
Stain - I used left over stain I already had
2x8 - I used scraps I already had
2x4 - $3
Pavers - $6
Screws, Metal plates - $4
Landscaping Cement - $6
Glass Pebbles - $5
We love our table and use it much more than I anticipated.  This was an easy and very rewarding project!